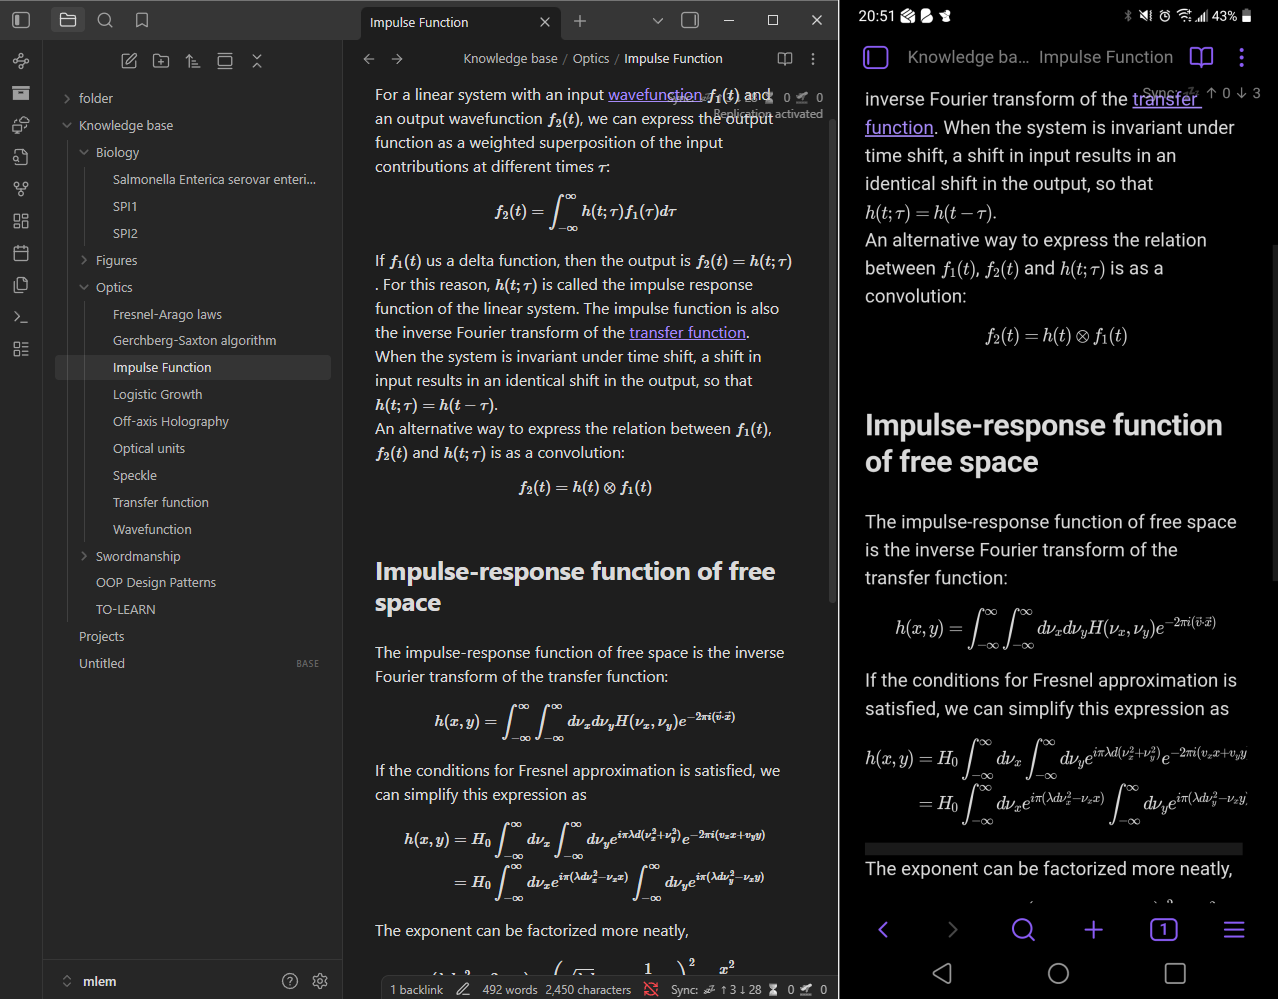
The screenshot above shows the obsidian vault opened on my desktop client (left), and on my mobile client (right). Sync was tested by adding contents from one client and watch the contents updating in the other client in real time.
This was not a very difficult project, since livesync has a well-documented tutorial to walk users through manual setup. I followed this tutorial to set up the docker container for couchDB and set up the vault inside the database.
After that, my setup diverged a little bit from the tutorial because I wanted to make my self-hosted server accessible through cloudflare tunnel associated with my domain.
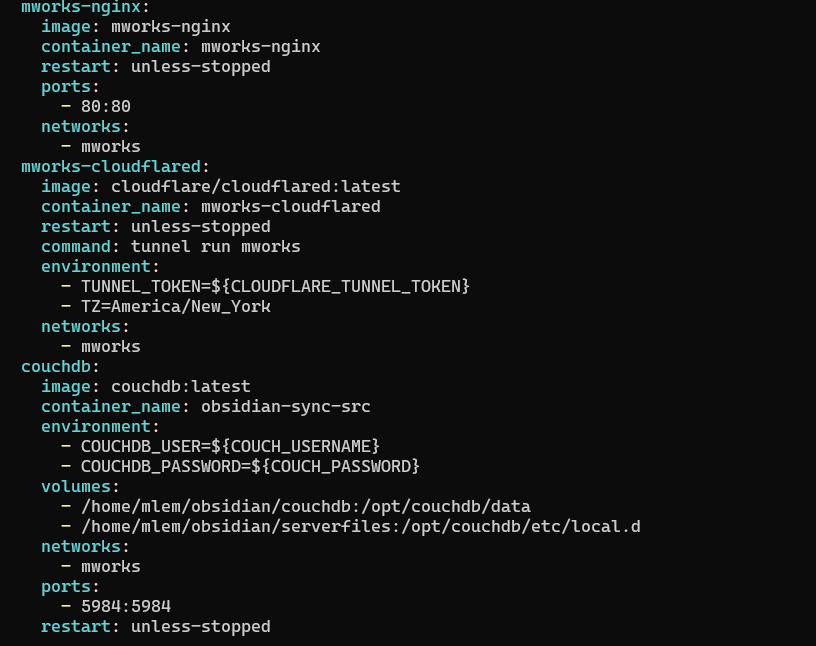
The screenshot shows parts of my docker compose script that shows the configs for cloudflared (cloudflare tunnel) container and the couchDB container, as well as one of the containers used to serve this website (the nginx reverse proxy). Sensitive information was saved separately as environment variables in .env file, which is read when docker compose launches the containers. This allows me to keep my docker-compose.yml file, along with other codes, in a public git repository without facing security risks.